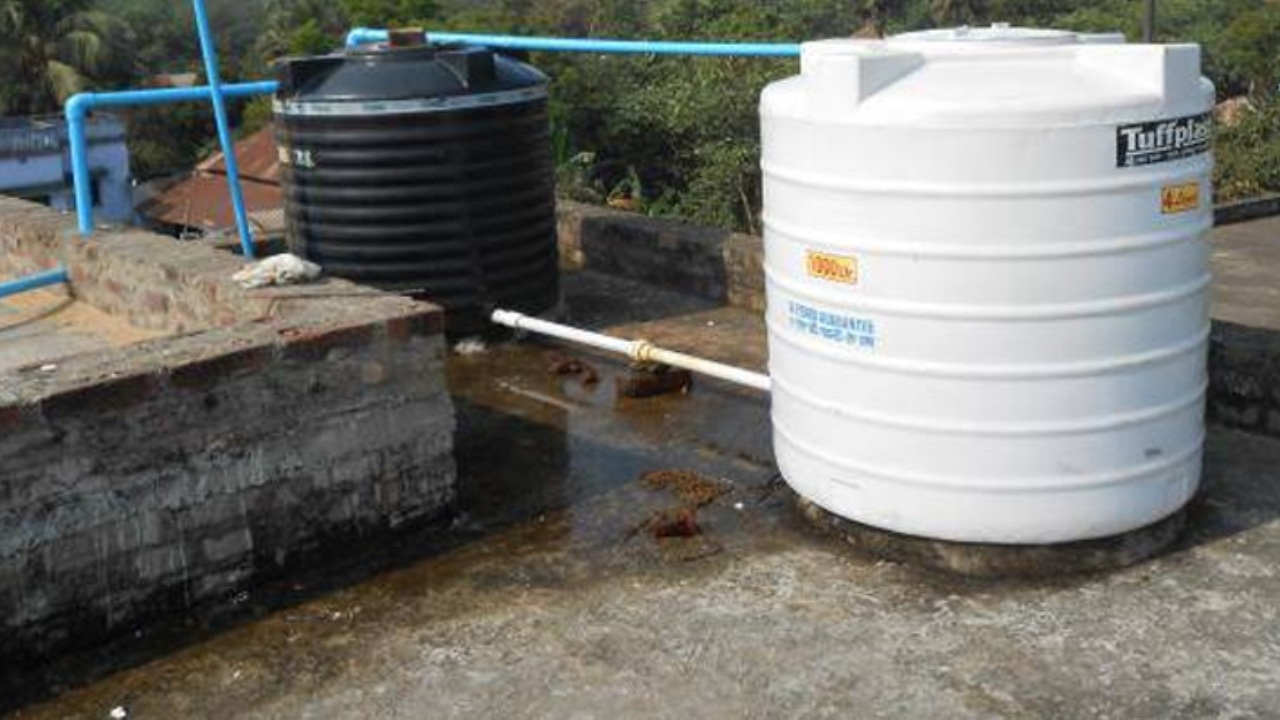
Plastic Water Tank Leakage Problem
Water tank leakage is a widespread and troubling issue encountered by both residential and commercial water tank users. Regardless of whether the tank is constructed from concrete or is a plastic water storage tank, the risk of developing cracks, holes, or other structural problems over time is a common concern.
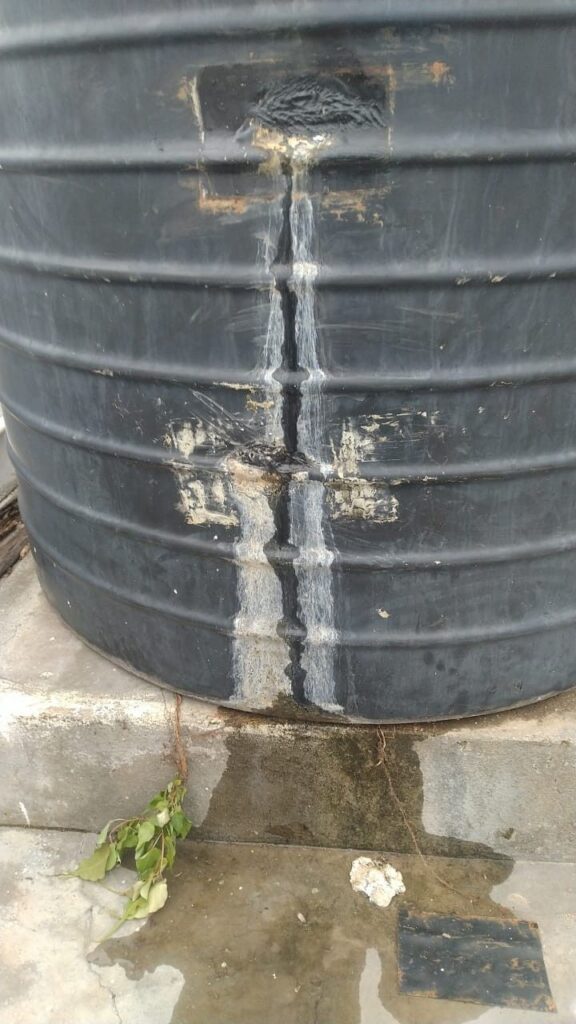
Can Plastic water tank be Repaired?
Concrete water tanks, are particularly vulnerable to leakage due to potential flaws in their construction. Poor construction practices can lead to cracks, which, if left unattended, can result in leakage issues. While Plastic water tanks are readymade water containers and are manufactured in smart dimensions and sizes to bear the most of the heavy mass of water and tension near the joints and connections. So, Yes the plastic water tank leakage can be repaired.
However these plastic water storage tanks become brittle due to wear and tear over time, mainly when they are exposed to sunlight like terraces, roof tops and wall extensions where harsh sunlight and weather deteriorates the material and reduces its life. Regular inspection and maintenance are crucial to prevent water contamination and seepage. Proper construction techniques are also essential to mitigate the risk of water tank leakage.
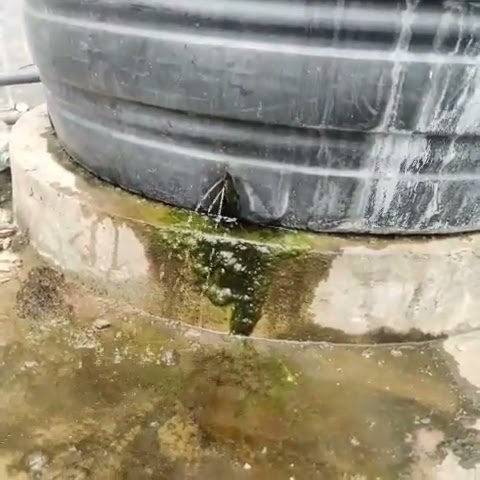
Plastic water tank leakage repair | Plastic water Tank crack repair
In cases where professional help is not readily available, the importance of self-reliance becomes evident. Many individuals may not have immediate access to plumbers or repair experts during an emergency. This creates the need for a practical solution, or do-it-yourself solutions. Repairing plastic water storage tanks at home is an example of such an approach, which empowers individuals to tackle the problem independently with the right knowledge and tools.
Table of Contents
The Purpose – How to Repair Water Tank Leakage?
The purpose of this guide is to provide concise and practical steps for effectively repairing water tank leakage. It aims to empower individuals to address this common issue independently by offering clear instructions and insights into the causes and preventive measures associated with water tank leaks, whether in concrete or plastic water storage tanks.
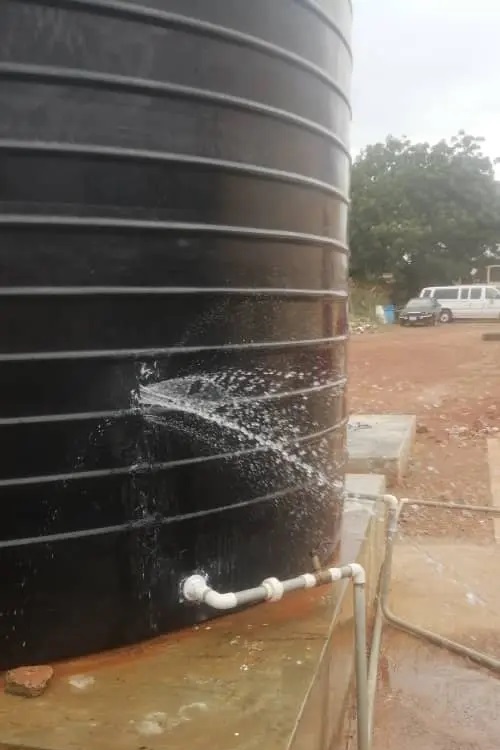
Repairing Water Tank Plastic
Plastic Water Tank Leakage Solution
Follow the Step-by-step instructions below to fix the plastic storage tank leakage problem at home.
Step #1: Identifying the Leak
Before proceeding with any repair, it’s crucial to accurately identify the source and severity of the water tank leakage. This section outlines a comprehensive process for detecting leaks, whether they are subtle or more apparent.
A. Visual inspection
- Signs of leakage (e.g., water stains, dampness, fungus/mold green stains): Begin by visually examining the exterior and interior of the water tank. Look for any signs of leakage, such as water stains, damp spots, or areas where the tank’s surface appears discolored or compromised. Pay close attention to the following:
- Water stains on the tank’s exterior or nearby surfaces.
- Dampness or moisture accumulation around the tank’s base or in the vicinity.
- Visible cracks, holes, or deformities in the tank’s structure.
- Possible leak locations (e.g., seams, valves): Carefully inspect common trouble spots where leaks often occur, including seams, joints, valves, and connection points. Look for any visible irregularities or damage in these areas that could be contributing to the leakage.
B. Using water dye or food coloring to trace leaks
In cases where the leakage is not immediately evident, consider using a water dye or food coloring to help trace the source of the leak. Follow these steps:
- Add a few drops of water dye or food coloring to the water inside the tank.
- Wait for some time, typically 15-30 minutes, to allow the colored water to disperse.
- Carefully inspect the exterior of the tank and surrounding areas for any traces of the colored water. These colored streaks or patches will indicate the path of the leak.
- Note the precise location where the dye or coloring is visible; this will pinpoint the source of the leakage.
C. Determining the severity of the leak
Once you’ve identified the source of the leak, it’s essential to assess its severity. This evaluation will help you determine the appropriate repair method and materials needed. Consider the following factors:
- The rate at which water is leaking (e.g., a slow drip, a steady stream).
- The size and extent of the crack, hole, or damaged area.
- Whether the leak is a result of a minor structural issue or a more significant problem.
- The potential impact of the leak on the tank’s functionality and the surrounding environment.
By meticulously identifying and evaluating the leak, you’ll be better equipped to select the most suitable repair approach and ensure a successful resolution of the water tank leakage issue.
How to repair plastic water tank leakage?
Step #2: Emptying the Water Tank
Before initiating any repair work on the water tank, it is essential to ensure the tank is completely emptied. This section outlines the necessary steps to safely and effectively empty the tank, preventing any potential accidents or complications during the repair process.
A. Turning off the water supply
Begin by shutting off the water supply to the tank. Locate the main water inlet valve or supply line leading to the tank, and turn it off completely. This step will halt the inflow of water into the tank and prevent any further filling during the repair.
B. Draining the tank completely
Once the water supply is turned off, proceed to drain the tank entirely. Open any available drain valves or taps on the tank to release the stored water. It’s crucial to ensure that all water is expelled from the tank, minimizing the risk of splashes or spills during the repair.
C. Ensuring the tank is completely empty before proceeding
After draining the tank, take a moment to confirm that it is entirely empty. Double-check for any residual water in the tank, as even a small amount can pose a safety hazard during repair work. Verifying that the tank is devoid of water is a critical safety measure before commencing with any repair procedures.
Step #3: Repairing the Leak
Once the water tank is safely emptied, the focus turns to repairing the identified leak. This section provides a detailed breakdown of the repair process, encompassing cleaning, temporary solutions, and the proper use of repair materials.
A. Cleaning the affected area
Before initiating any repair work, it’s essential to ensure that the affected area is clean and free from debris, moisture, or contaminants. Use a rag or suitable cleaning materials to wipe down and prepare the surface for repair.
B. Applying temporary fixes (if needed)
In some cases, especially when dealing with larger or more complex leaks, applying temporary fixes may be necessary to stop or reduce the leakage temporarily. This can include using materials like waterproof tape or epoxy putty to provide a temporary seal while preparing for a more permanent repair.
C. Using appropriate repair materials
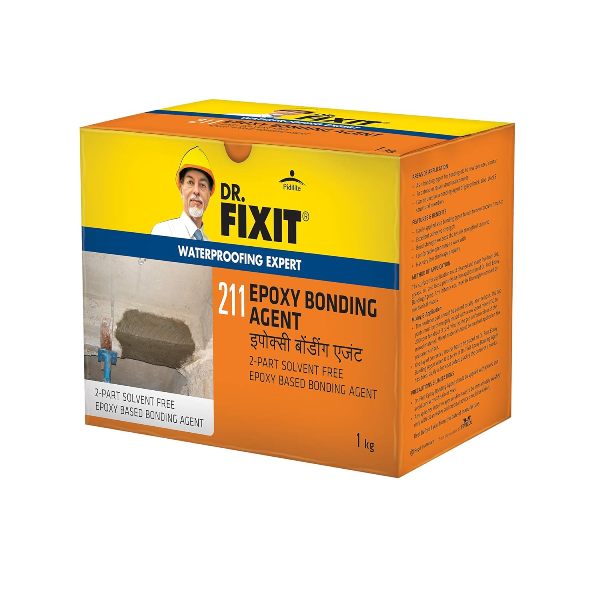
- Epoxy for small cracks or holes: For small cracks or holes in the tank’s structure, epoxy from Dr Fixit is an effective repair material. It’s essential to select epoxy specifically designed for water tank repairs, ensuring its compatibility with the tank material and its ability to withstand water pressure.
- Sealant for seams or joints: When dealing with leaks at seams or joints, a high-quality sealant is the appropriate choice. Sealants should have excellent adhesion properties and be suitable for use in water tanks.
- Patch kit for larger damages: In cases of larger damages, such as extensive cracks or holes, a patch kit designed for water tank repairs is ideal. These kits typically include reinforced materials like fiberglass or fabric, along with an adhesive or sealant.
💡 Affiliate Disclosure:
Some of the links in this post are affiliate links. This means if you click on the link and purchase any item, i will receive affiliate commission on qualifying purchases at no extra cost to you.
Link to our Affiliate Disclosure Page: https://www.sellersbay.in/affiliate-disclosure/
D. Final steps for repair process
- Mixing and applying epoxy/sealant: Follow the manufacturer’s instructions to mix the epoxy or sealant properly. Apply it to the affected area, ensuring complete coverage. Smooth the material evenly to create a secure seal.
- Installing patches (if applicable): If you’re using a patch kit, carefully follow the provided instructions to install the patch over the damaged area. Ensure that the patch adheres securely to the tank’s surface.
E. Allowing adequate drying or curing time
After completing the repair, it’s crucial to allow the epoxy, sealant, or patch adequate time to dry or cure fully. Follow the manufacturer’s recommended drying/curing times, as rushing this step may compromise the effectiveness of the repair. Ensure a stable and dry environment to facilitate the drying process.
By following these detailed steps, you can efficiently repair the leak in your water tank, ensuring a reliable and long-lasting solution that restores the tank’s integrity and functionality.
How to Repair cement water tank leakage?
The video below will help you to repair cement water tank leakage issues:
Must Read, The Ultimate Guide to Latest Bluеtooth Hеadphonеs
Conclusion
In conclusion, water tank leakage is a shared concern for a wide range of users. It emphasizes the importance of regular maintenance, proper construction practices, and self-reliance in addressing and preventing leakage issues. By taking proactive steps and understanding the underlying causes, individuals and businesses can effectively manage this common problem and ensure a consistent and dependable water supply.
Affiliate Disclosure
Some of the links in this post are affiliate links. This means if you click on the link and purchase any item, I will receive affiliate commission on qualifying purchases at no extra cost to you.


