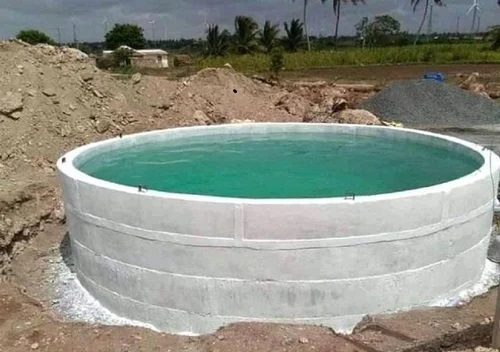
Cemented water tanks specially the overhead water tanks are very useful in serving water supply for household purposes when kept on terraces and roofs. And also, useful for commercial and industrial applications. Any damage or structural deterioration to these tanks can lead to water leakage, loss of water, increased costs of maintenance and damages to other goods and structures and fixtures. To repair cement water tank leakage you need to identify the areas of leakages first.

How to identify water leakage in Cemented water tanks?
You can check for below issues to identify any signs of water leakage:
Damp Spots: Moisture or water stains on the exterior walls of the tank.
Reduced Water Levels: Frequent need to refill the tank due to water loss.
Algae or Mold Growth: Increased humidity inside the tank can encourage the growth of algae or mold on the surface.
Cracks and Damage: Visible cracks, defects, or deteriorated areas on the tank’s interior or exterior.
Water Puddles: Accumulation of water around the base of the tank, especially when it’s not raining.
Corrosion and Rust: Development of rust on metal reinforcements or fixtures.
Water Quality Issues: Changes in water quality, such as unusual taste, odor, or discoloration.
Increased Water Bills: Unexplained spikes in water bills without an increase in consumption.
If you manage to identify the leakage in water tank in its initial stage, it will save the maintenance costs and further damage to the adjoining structures can be avoided.
What will you need for repairing a cemented water storage tank?
The following ingredients and tools are required for the repairing process:
- Hydraulic Cement
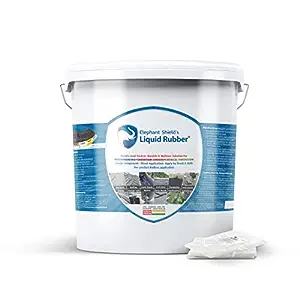
- Waterproofing compound or Chemical
- Masonry Tools for mixing and applying cement layers
- Waterproofing membrane for additional measure
- Personal safety tools like Boots, Gloves, Goggles, etc.
Proper selection of the waterproofing compound and mixture is must for complete water proofing solution. Dr. Fixit Water proofing range of compounds are widely used and are most popular.
Cement water tank leakage repair process:
There are following main stages to Repair Cement Water Tank Leakage as given below:
Stage #1: Cleaning and Drying the surface
This cleaning and drying stage is very important as it ensures that there are no loose ends and dirt present on the surface and the subsequent application of waterproofing chemicals can stick and adhere easily to the clean surface. Use a hard broom or wire brush to clean the dirt and scrub the debris accumulated over the surface. The surface after properly cleaning must be dried so that cracks are clearly visible and easier to fill.
Stage #2: Crack filling, sealing, levelling, and drying
Mix hydraulic or white cement with waterproofing chemical in recommended proportions to get a mixture most suitable for filling cracks and joints. This acts as a sealant and covers all the cracks and joints. This also strengthens the water tank structure. Level this areas without leaving any bumps and heaps.
Stage #3: Waterproofing chemical coating, multiple layers
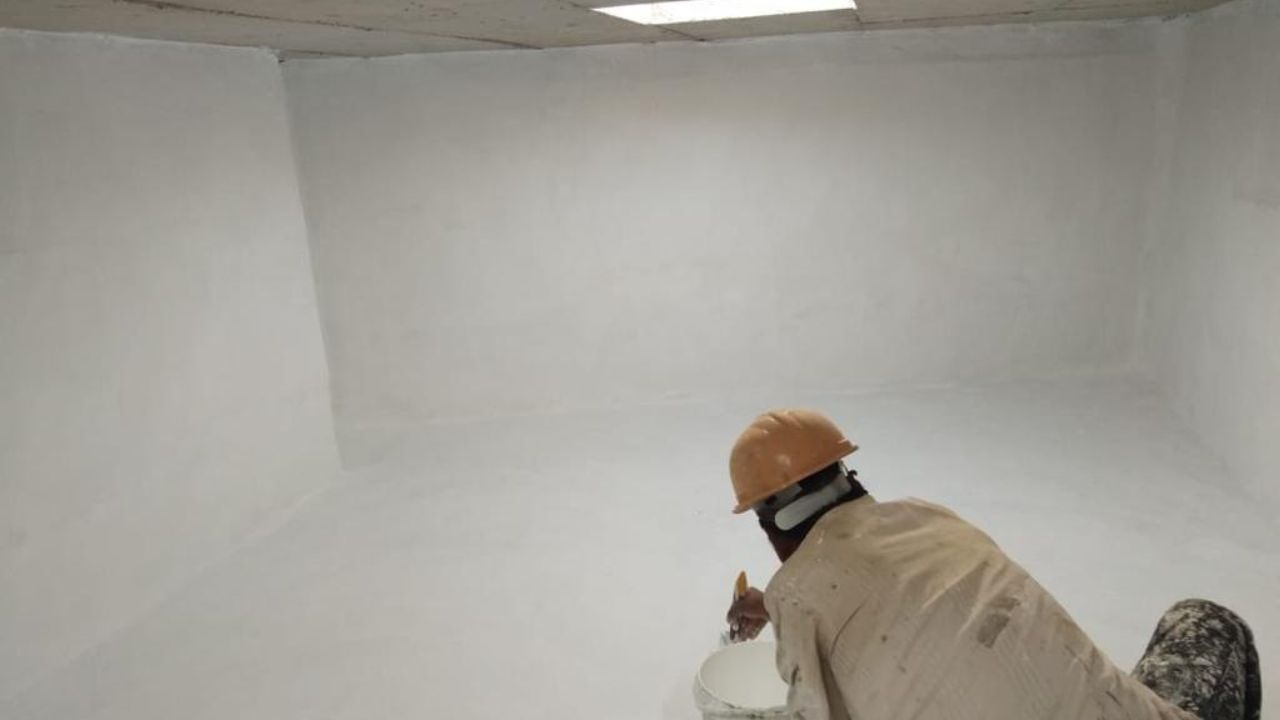
Now, apply multiple layers of waterproofing chemical to make the surface water proof and avoid any infiltration of water through the cement tank walls and base. Apply thicker multiple coat layers to achieve the required waterproofing. Allow each layer to dry up before applying the next layer.
Stage #4: Use of Waterproofing membrane, if needed
For larger tanks and where higher degree of reliability is required, one can use waterproofing membrane. This membrane must be applied and covered with subsequent layers of waterproofing compound to achieve the best results and added protection against any potential leakage issues in future.
Stage #5: Strengthening the tank
Due to ageing process there develops strong and weak areas within the tank surfaces and walls. These need to be strengthened further which may require additional coat of cement or mortar. This final strengthening coat may require proper curing period depending on the climate and materials used. After this final curing step only, it is advisable to start using the tank again.
How to stop leakage in cement water tank?
The leakage in cement water tank can only be stopped by emptying the water tank completely and drying up. Than it requires complete cleaning of the surface for accumulated dirt and loose particles and debris. Next step is to apply a mixture of Hydraulic cement and Dr. Fixit water proofing compound mixed with water. The perfect proportion can be given with the product that you are using. Apply multiple layers and allow drying in between each layers to get it adhered on each other strongly.
This way you can first prepare the tank surface, clean it and than apply the water proof coating. Lastly, you can apply a final touch of cement layer and tar to level up.
PVC Plastic Water Tank Leakage Solution
The plastic water tanks are made up of High Density polymer, PVC. The leakage in such plastic water tanks is mainly because of cracks and cuts. The fast and reliable way is to use an epoxy resin mixture to fill the crack and fill it as a sealant. There are many epoxy putty mixture available depending on the purpose. We have written a complete detailed article here, How to Repair Water Tank Leakage?
Frequently Asked Questions (FAQs)
How to Fix Overhead Water Tank Leakage?
For cement water tank leakage, clean the overhead tank and dry it completely. Cleaning should be thorough, scrubbing and smoothening of the surface to remove any loose particles and dirt sticking on the surface. Than apply multiple coats of waterproofing compound. And If the tank is of Plastic/PVC Sintex water tank, than for minor leakages you can use Epoxy Putty Resin compound or Patch kits for water tank repair.
How to Fix RCC & Concrete Water Tank Leakage problem?
RCC water tanks, Concrete water tanks are made up of cement and metal fixtures. This can show some cracks and corrosion due to weathering and ageing. This rate of deterioration is faster in case of leakages. On time identification of any such leakage can prevent extreme damage to these concrete and RCC water tanks.
Use of Hydraulic cement and Water proofing compound in multiple layers with intermediate drying can give proper solution to leakage problem. This may require a final coat of cement or tar to avoid any permeability.
How do you fix a leaking water tank without draining it?
There are certain Patch and Kits and adhesive tapes available online which can be used to temporarily stop the leaking water tank. However this depends on the size of the water tank and amount of pressure the water exerts on the surface of the tank. And also the size of the tank.
What is the permanent solution for seepage?
Seepage actually happens because of internal leakage may be due to leakage in concealed pipes or leakage in over head tank, where the water gets absorbed and flow around making the walls and ceiling damp. The one and only permanent solution is to find the source or cause of leakage. Unless and until you don’t find the cause, whatever you do painting walls, waterproofing coat, etc. will not be able to solve the seepage issue.
What is the difference between seepage and leakage?
In leakage the water leaks drop wise or flow taking some path through surface or joints like plumbing fixtures. In case of seepage water doesn’t flow freely and accumulates on the surface. But it spreads throughout the porous walls or ceiling, making the area damp.
How do you identify a seepage problem?
If there is seepage in walls, the nearby plumbing fixtures and pipes will show rusts and corrosion. And the paint will peel off with cracks and cold wall surface. This clearly indicates there is seepage in the adjoining areas that might be due to any concealed plumbing.


