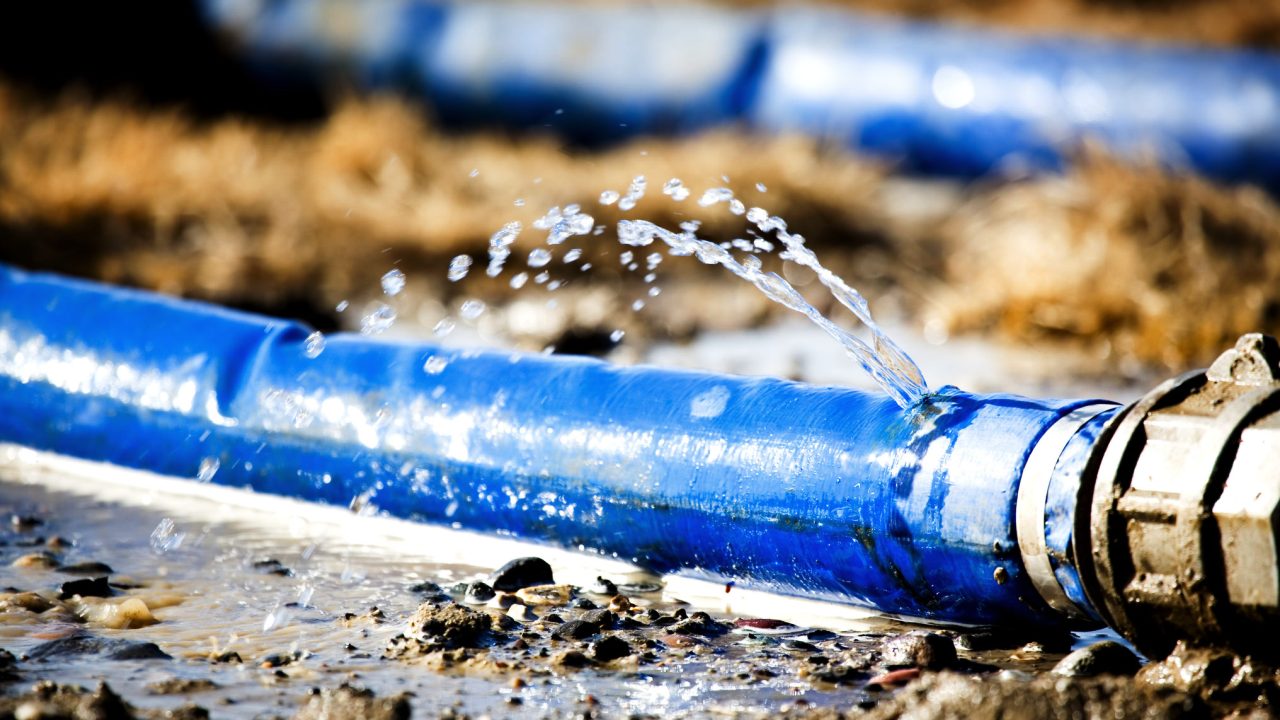
Why it’s important to Repair Pipe Leakage problem?
Pipe leakage can be a common household issue, and identifying it sooner is very important to prevent water damage and wastage. Whether you have a minor leak or a major leakage problem, by knowing different ways to repair pipe leakage can save you time and money.
We will explore various pipe leakage repair methods, from simple DIY solutions to more advanced techniques, to help you easily resolve pipe leakage problems effectively. Whether you’re dealing with a copper, PVC, or metal pipe, understanding these pipe leakage repair options and methods will make you to handle pipe leakage issues with confidence.
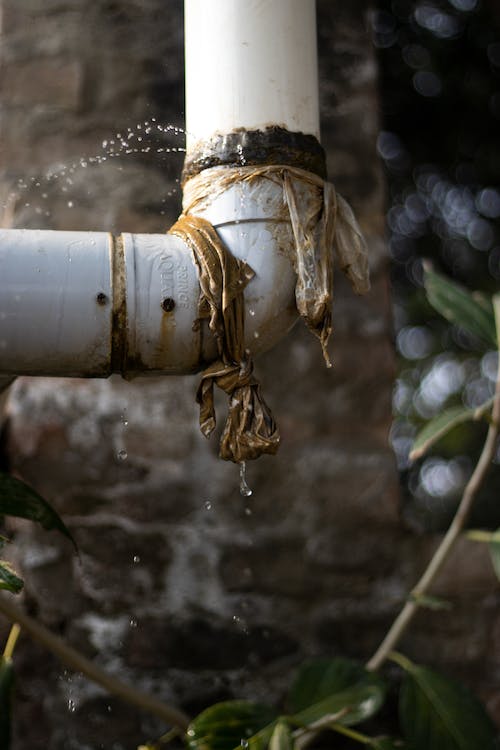
Table of Contents
💡 Affiliate Disclosure:
Some of the links in this post are affiliate links. This means if you click on the link and purchase any item, i will receive affiliate commission on qualifying purchases at no extra cost to you.
Link to our Affiliate Disclosure Page: https://www.sellersbay.in/affiliate-disclosure/
Different methods of Repairing Pipe Leakages
There are various methods and techniques available for repairing leakages in pipes. The use of any method or technique depends on the type of pipe, the size of the damage and the level of expertise you have. Here are different ways to repair pipe leakage:
1. Pipe Repair Kits:
- Pipe repair kits are readily available and can be used for quick fixes on minor leaks.
- They typically include a pipe clamp or wrap that can be applied over the damaged area.
- Some kits come with epoxy putty or tape, which can be wrapped around the pipe to seal small leaks.
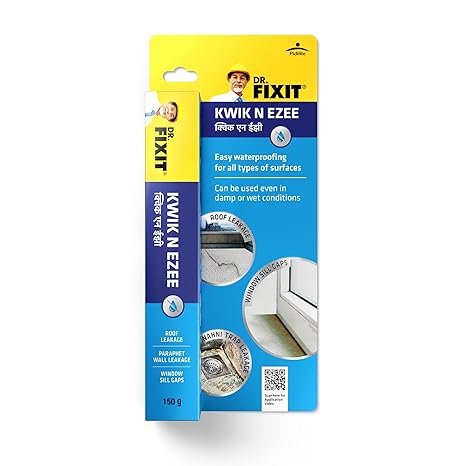
What is the Best Sealant for Leaking Pipes?
The best sealant for leaking pipes depends on the type of pipe material, the nature of the leak, and the conditions in which the pipe operates. Here are some commonly used pipe sealant for leaks for different scenarios:
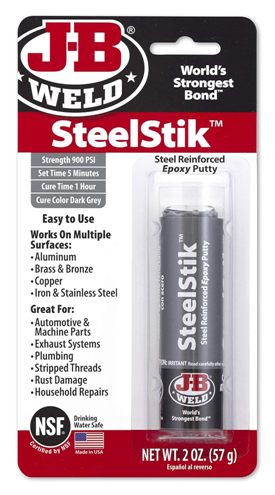
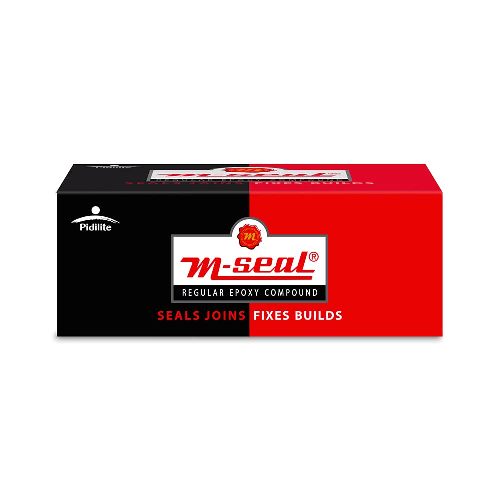
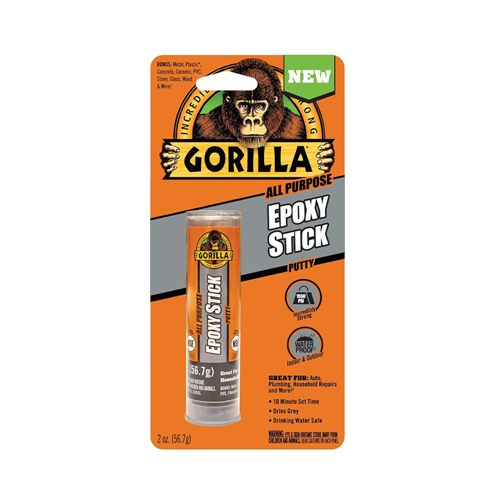
2. Epoxy Putty:
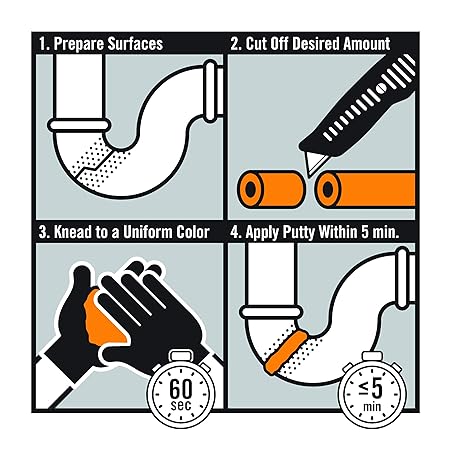
- Epoxy putty is a widely used method that can be used for sealing cracks or holes in pipes.
- It consists of two components that need to be mixed together just before the application. The putty mixture can be applied directly to the damaged area. Examples like Araldite or Mseal
- Epoxy putty hardens over time, creating a strong, watertight seal.
3. Pipe Thread Sealant (Pipe Dope):
- Ideal for threaded pipes, such as those made of metal (e.g., steel or iron) or PVC.
- Forms a tight seal when applied to the threads of pipe fittings and connections.
- Resistant to water, oil, and gas.
- Common brands include Teflon tape and pipe joint compound.
4. Silicone Sealant:
- Works well for sealing leaks in pipes that are not under high pressure.
- Can be applied to both metal and PVC pipes.
- Offers resistance to water and moisture.
5. Pipe Joint Compound (Pipe Dope):
- Paste or gel-like substance applied to pipe threads.
- Suitable for sealing threads on metal and PVC pipes.
- Provides a strong, lasting seal against leaks.
6. Polyurethane Sealant Foam:
- Expanding foam sealant that can seal gaps and holes in pipes.
- Useful for insulating and sealing joints in pipes.
- Not suitable for high-pressure pipes.
3. Pipe Clamps:
- Pipe clamps, are special repair clamps, that are designed to seal leakages in pipes.
- They consist of a metal band with a rubber gasket that fits around the damaged section of the pipe.
- Tightening the clamp compresses the gasket against the pipe, creating a seal.
4. Soldering:
- Soldering is commonly used for repairing copper pipes.
- It involves heating the joint or damaged area with a torch and then applying solder to create a watertight seal.
- Soldering requires some skill and the use of flux to clean and prepare the pipe surfaces.
5. Compression Couplings:
- Compression couplings are used to repair pipes that have been cut or have small leaks.
- They consist of two compression fittings and a rubber gasket.
- The fittings are tightened to compress the gasket against the pipe, creating a secure seal.
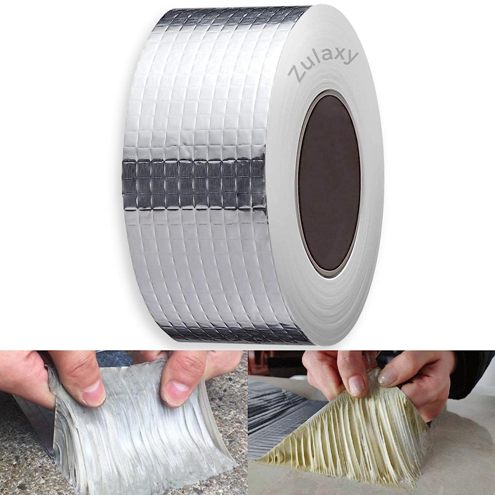
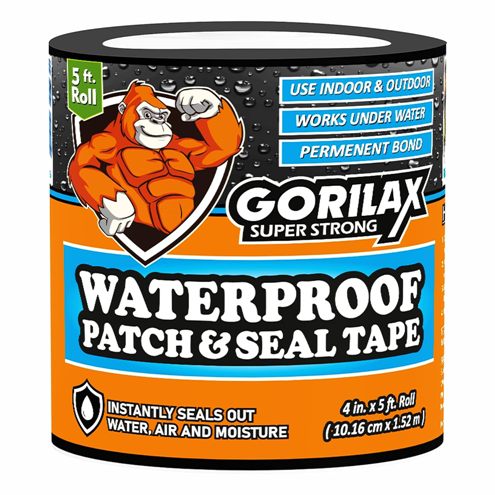
6. Patch Repair or Water Pipe Leak Sealant Tape:
- Patch repair involves using a piece of pipe material or a patch kit or a ‘PVC pipe leakage tape’ to cover a hole or crack in the pipe.
- The patch is secured in place using clamps, screws, or adhesive.
- This PVC pipe repair tape or Patch Repair method can be used for larger pipe repairs.
Flex tape for water leakage or Plastic water tank leakage tape | Water leakage tape for water tank
6. Threaded Pipe Sealants:
- For pipes with threaded connections, sealants such as plumber’s tape or pipe joint compound can be used.
- Apply the sealant to the threads before reassembling the pipe to create a leak-free joint.
8. Welding:
- Welding is used for repairing metal pipes, especially in industrial settings.
- It involves melting the edges of the damaged area and fusing them together using a welding torch.
9. PVC Adhesive:
- PVC pipes can be repaired using specialized PVC adhesive or cement.
- Clean the damaged area, apply the adhesive, and join the pieces together.
10. Bypass or Replacement:
- In special cases for severely damaged or corroded pipes, the best solution may be to install a bypass or to cut and replace the entire section of pipe.
PVC Pipe leakage solution: The choice of methods to repair pipe leakage depends on the specific situation and also the access to that area where the leakage in pipe is present. That also depends on the type of pipe and the extent of the damage. It’s essential to follow safety precautions and, consult a professional plumber for complex repairs if needed.
Important Steps while Repairing a Pipe leakage
Repairing a pipe leakage is a common household issue which can lead to severe roof leakage and wall dampening issue, also that can lead to water wastage and damage if left unattended. Here are the steps to repair pipe leakage:
Step #1 – Turn Off Water Supply: Before you start any repair work, it’s essential to shut off the water supply to the affected pipe. You can typically do this by turning the valve located near the leak or by turning off the main water supply if necessary.
Step #2 – Drain the Pipe: To work on the pipe safely, drain any remaining water from it. Open faucets or valves downstream from the leak to allow the water to flow out.
Step #3 – Identify the Leak: Determine the location and size of the leak. Is it a small crack, hole, or loose joint? Identifying the type of pipe (e.g., PVC, copper, galvanized) will help you choose the appropriate repair method.
Step #4 – Temporary Fixes: For small leaks or cracks, you can use temporary fixes like pipe repair tape, epoxy putty, or pipe clamps to stop the leak temporarily. These solutions are readily available at hardware stores.
Step #5 – Cut Out the Damaged Section: For larger or more serious leaks, you may need to cut out the damaged section of the pipe using a pipe cutter or hacksaw. Make sure to wear safety gear while cutting.
Step #6 – Prepare the Pipe: Once the damaged section is removed, clean and smooth the cut ends of the pipe. Remove any burrs or rough edges.
Step #7 – Choose a Repair Method:
- Compression Coupling: This type of coupling fits over the cut ends of the pipe and is tightened to create a watertight seal.
- Soldering: For copper pipes, soldering involves using a torch to heat the pipe and melting solder into the joint to create a seal.
- Adhesive Bonding: PVC pipes can be repaired using specialized PVC adhesive or cement.
- Threaded Pipe: If the leak is at a threaded joint, use plumber’s tape or pipe joint compound to seal the threads.
Step #8 – Apply the Repair Method: Follow the manufacturer’s instructions for your chosen repair method carefully. Ensure that the repair is secure and watertight.
Step #9 – Test for Leaks: Once the repair is complete, turn the water supply back on and check for any leaks. If the repair holds, you’ve successfully fixed the pipe leakage.
Step #10 – Monitor: Keep an eye on the repaired area for a few days to ensure there are no further leaks or issues.
Remember that for complex or extensive pipe repairs, it’s advisable to seek professional assistance from a plumber who is well experienced in repairing roof leakages and water tank leakage repairs. Additionally, always prioritize safety by wearing appropriate protective gear, especially when working with pipes and tools.
Conclusion
So, there you have it – a handy guide to fixing those pesky pipe leaks. Remember, whether it’s a tiny drip or a big gush, addressing leaks promptly can save you water, money, and prevent further damage to your home.
In this guide, we’ve covered various methods to repair pipe leakages. From using a simple repair kit to applying patches, these solutions cater to different levels of leaks and your DIY skills. If you ever find yourself facing a leaking pipe issue. Don’t panic, take a deep breath, assess the situation, and choose the method that suits you best.
Regular maintenance and preventive measures can keep your household plumbing and pipe fixtures in more stable condition. So, roll up those sleeves, grab your tools, and tackle those leaks like a pro. With a little know-how and some elbow grease, you can conquer pipe leaks and keep your home dry and leak-free.
Affiliate Disclosure
Some of the links in this post are affiliate links. This means if you click on the link and purchase any item, I will receive affiliate commission on qualifying purchases at no extra cost to you.


